
Practical guide: how to avoid vibration in machining for a perfect surface finish
Every machining professional knows that sharp, piercing sound, that vibration running through the machine and the part. It is an enemy of machining that, beyond the irritating noise, is a symptom that something in the process is not working properly.
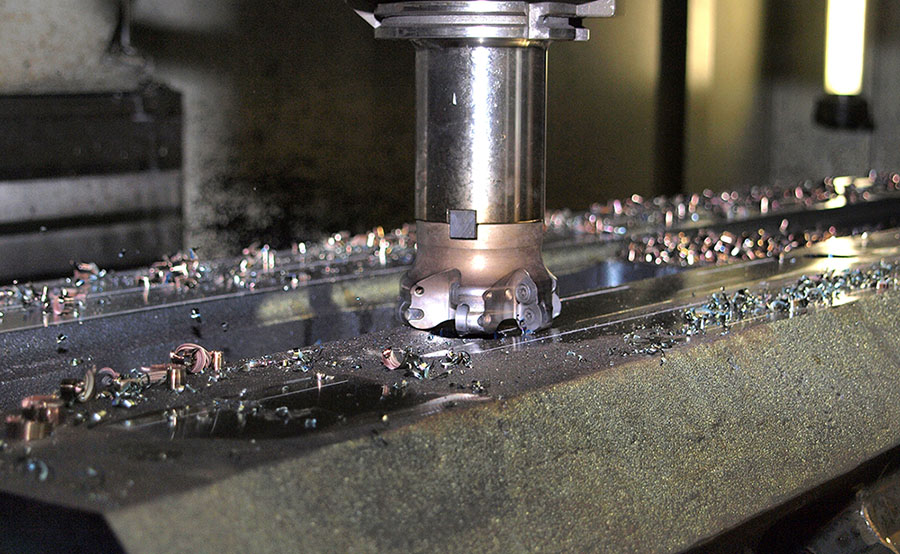
Vibration in machining is a critical problem that directly affects the quality of the final product, tool life and the health of your machinery. Ignoring it leads to costs, rejects and lost competitiveness.
In this practical guide, we break down the most common causes of vibration and offer specific solutions and strategies to diagnose it, control it and, ultimately, eliminate it.
What is chatter and why is it your enemy?
Technically, chatter is a self-excited vibration that occurs during the metal cutting process. It happens when the whole system (machine, toolholder, tool and workpiece) goes into resonance. The consequences go far beyond a poor surface finish:
- Poor quality. It leaves marks, waviness and irregularities on the surface of the part, making it impossible to meet tolerances and finish specifications.
- Tool wear. It accelerates cutting edge wear and can even cause breakage, drastically increasing spending on consumables.
- Compromised accuracy. Lack of stability makes it impossible to hold tight dimensional tolerances.
- Machine damage. Prolonged, severe vibration can cause premature wear of critical components in your machining centre, such as the spindle bearings.
Four keys to diagnosing and eliminating vibration in machining
Combating chatter requires a methodical approach. The problem rarely has a single cause; it is usually the result of a combination of factors. Check these four key points in your machining process.
1. Workholding (clamping): the foundation of everything
System rigidity starts with how the part is held. Weak or unstable clamping is the main source of vibration.
- Check your fixtures. Use quality vices, jaws or clamping systems in perfect condition.
- Minimise the distance. Clamp the part as close as possible to the machine table to reduce overhangs and maximise stability.
- Use supports. For long, slender or thin-walled parts, use additional support points to counteract cutting forces.
- Cleanliness first. Make sure the contact surfaces between the part, the fixture and the table are completely clean and flat.
2. The cutting tool
The tool is the direct point of contact with the part. How it is chosen and set up is decisive.
- The golden rule of overhang. Always use the shortest tool that allows you to perform the operation. The longer the tool (overhang), the greater its tendency to vibrate. Doubling the length can increase deflection by a factor of eight.
- Maximise rigidity. Whenever possible, choose solid carbide tools, which are much more rigid than high-speed steel ones. Shank diameter is also crucial; a thicker shank offers greater stability.
- Cutting geometry. Choose a tool with the right geometry for the material you are machining. A positive rake angle and a sharp cutting edge usually reduce cutting forces and therefore vibration.
3. Cutting parameters
Finding the optimum parameters is an art, but there are fundamental principles for avoiding vibration.
- Spindle speed (rpm). Sometimes the system vibrates because the spindle speed coincides with a resonant frequency. Try reducing or increasing the rpm by 10-15%. A small change can often take the system out of the vibration zone.
- Feed rate (mm/rev or mm/min). An adequate feed rate is crucial to maintain a constant, stable chip thickness. Too low a feed rate makes the tool rub instead of cut, generating heat and vibration. Try increasing it in a controlled way.
- Depth of cut (axial and radial). Instead of a deep, slow pass, consider high-efficiency machining strategies: use a small radial depth of cut and a large axial depth, combined with a high feed rate. This keeps a constant load on the tool and reduces vibration in most cases.
4. Machining strategy to avoid vibration: think before you cut
The way the tool moves, as defined in the CAM program, has a direct impact on process stability.
- Smooth out toolpaths. Use trochoidal or constant-engagement contouring strategies to avoid abrupt changes of direction and keep a uniform workload on the tool.
- Controlled entries and exits. Program tangential or helical (ramp) entries into the material. Avoid direct 90° entries, which generate force peaks and vibration.
- Cutting direction. Whenever possible, direct cutting forces towards the most rigid part of the machine and the clamping system.
Vibration is not inevitable: it is a technical challenge
Eliminating vibration is a methodical process that requires attention to detail at every stage of machining. There is no single solution, but by systematically analysing clamping, tooling, cutting and feed parameters, and strategy, it is possible to identify the root cause and apply the right solution.
Mastering the art of vibration-free machining will not only allow you to deliver parts with an impeccable surface finish and precise tolerances, it will also optimise your costs by extending tool life and protecting your most important investment: your machinery.
If vibration persists despite these adjustments, it may indicate a problem that requires more in-depth analysis. Contact Ferrotall's service team for a professional diagnosis and a tailored solution.